Looking for more house tips? Search through Houseblogs.net!

Showing posts with label carpentry. Show all posts

Thursday, January 15, 2009

please don't do this


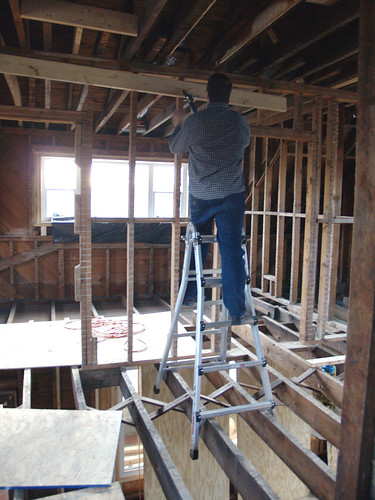
It's really not safe.

Don and his dad employed this extremely dubious ladder-balancing tactic to put up a header for the middle wall yesterday afternoon (I know, working on a weekday! Crazy!). It's not much of a header -- just a large piece of lumber nailed securely to a couple of uprights that aren't going anywhere -- but they assure me that because it's not holding up much of anything other than the joists above it (as opposed to, say, an air conditioning unit, a person, or several adventurous and fat cats) it will be fine. I've given up worrying about things like this; my attitude is "well, if it falls down it probably won't hurt anybody since we don't go over there, and if the house is ruined we can collect our insurance and move somewhere finished." Works for me.

They'll be cutting out the studs of that wall this weekend, I assume, and I just got a call confirming that a vast amount of lumber is going to be delivered here tomorrow. Very exciting.

Wednesday, January 14, 2009

plaster accomplished

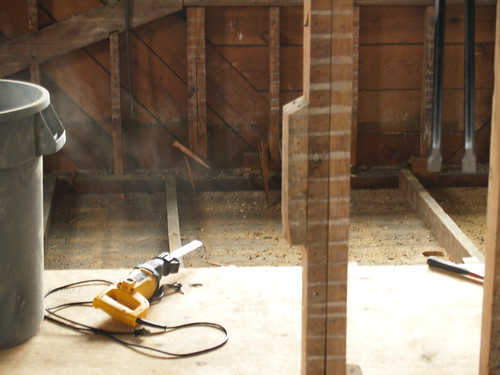
I'm really far behind in uploading pictures, I'm sorry. This one's actually from last weekend, when Don and his dad spent the day finally getting rid of that plaster in the master bedroom. It was a fairly messy job, but it's all gone now.


The picture above is what it looked like when they'd finally gotten all of the plaster out and were cleaning up. Never have we appreciated our ShopVac more! What the builders did was just put in a little mini-floor between the joists, which, alas, I didn't get a picture of. Rest assured there were only like four inches of plaster, not a foot or so, thank goodness. All the joists and "floorboards" in this section are gone -- the verticals you see here involve the front porch ceiling somehow -- although you can see bits of the joists from the next section sticking out from under the plywood in the foreground. The mini-floor was there solely to hold the plaster they poured. Very strange.

Up next, they'll be ripping out that middle wall you always see in these upstairs pictures. It's bearing, so they'll need to build a header first. I hear that's happening today. Then it's on to the "chop-and-drop" -- tearing out old joists and installing new ones. The first joists to go in will be in that front half of the master bedroom over the porch; before the plywood subfloor is put in on top of those joists, Don will run wiring for the porch's ceiling fans and lights, since this is the only chance we'll really have to access that area. Then insulation, probably, and the subfloor. The joisting and subflooring will continue over to the edge of the stairs, which is where the original floors are still intact. I think the master suite framing will come next, and we'll move our bedroom in there from the back bedroom. Then ripping up the floors and more chop-and-drop.

Don thinks that the upstairs floor will be done by mid-February. We'll see how it goes. Once the floor is done it's all a downhill race; the plumber will come and install the bathrooms, we'll run the electrical stuff in the evenings probably, and then it's insulation, drywall, and hardwood. But you all know that already.

Friday, August 01, 2008

a ladder for the ages

This house, like many older homes (and, for all I know, lots of newer homes) has a big huge attic, accessible by one of those trapdoor ladder things. The original ladder was installed by Don's grandfather, and, like many of the things in this house, was both very clever and very frightening. It was held up by a terrifyingly visible pulley that involved steel cable and a screw eye sunk into the guest room floor. Folding the trapdoor back up into the ceiling was a two-person job; one person had to stand on their tiptoes and push the unit up into the ceiling and hold it there while the other one pulled with all their weight on the pulley cable to get the hook to slip over the edge of the screw eye.

In addition to all that, the ladder itself was... shall we say... nonstandard. It was approximately one foot wide, ensuring that nobody with hips could get up into the attic; it was constructed -- possibly by hand -- entirely out of wood; and, mysteriously, it was blue.

Our HVAC contractor, on his very first trip out here (something like TWO YEARS AGO ARGH), told us flat out that there was no way he could install our upstairs HVAC unit without a new ladder. Aside from the safety issues, which didn't concern him overly much although they terrified me (did I mention that there was a LIVE WIRE crossing the opening, for no good reason?), the hole in the ceiling was simply too small to fit the unit through. So one of the things that had to be accomplished before we could have the last of the HVAC installed was to replace the ladder.

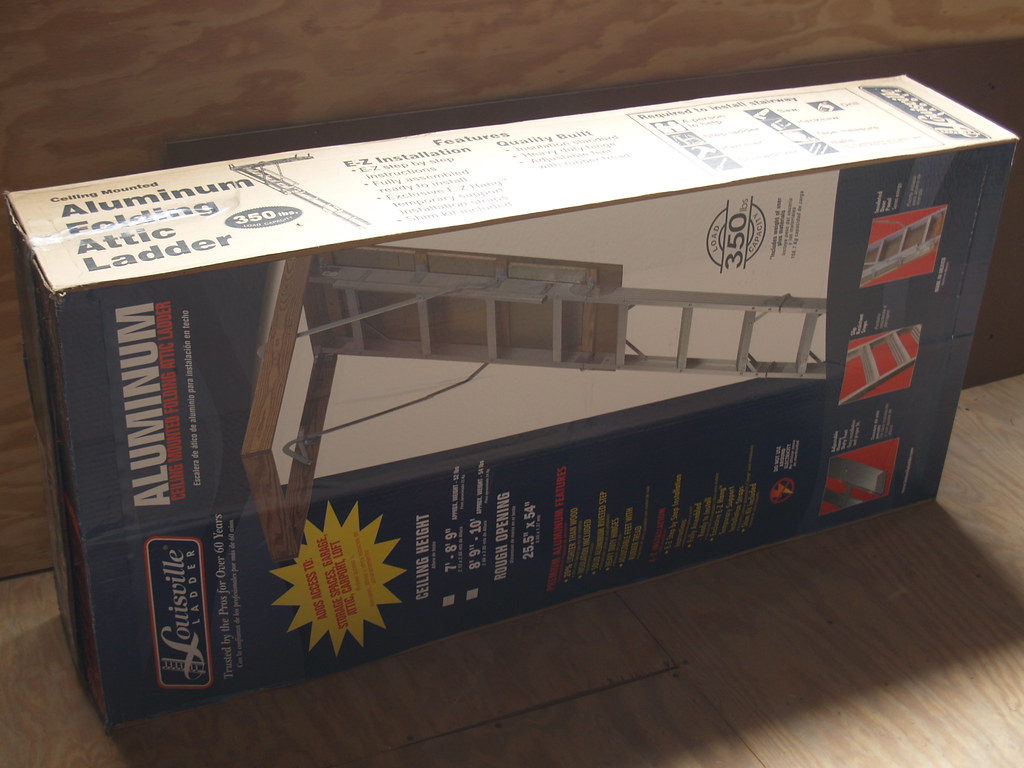
Fortunately, it turns out that you can just run over to your local home improvement superstore and buy attic trapdoor ladders. In boxes!


The original ladder was in the middle of the three upstairs bedrooms. We decided that if we were going to replace the darn thing anyway, we might as well put it in a much more convenient location so that our use of that room would be unfettered. The upstairs landing, as most of you know, is absolutely gigantic, so we decided that the landing was the place for the new ladder.

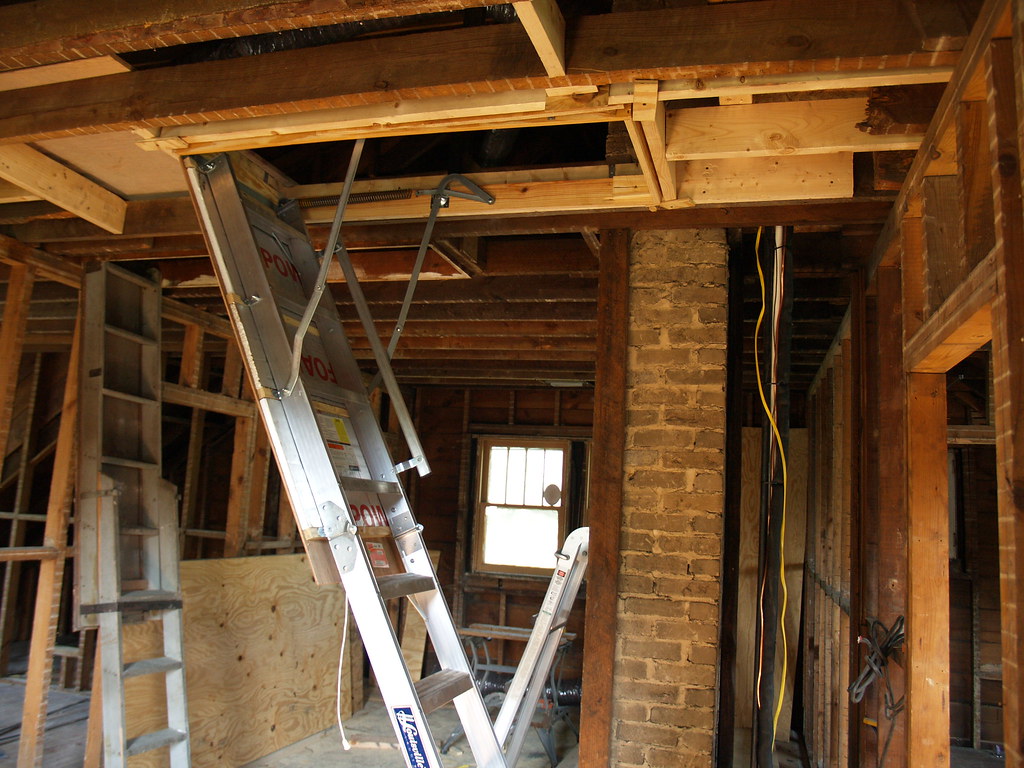
So Don and his dad framed in an appropriately sized hole, and installed the new ladder over a weekend in April, with much swearing. Like everything around here, it took longer than they expected and involved a lot of shimming. But it's in, and it works, as you can see.


We haven't taken down the old blue ladder yet -- it's bolted into the joists, and we just haven't gotten around to dealing with that. Just ignore it and admire the shininess of the new one.

Wednesday, April 11, 2007

how to level your old floors

Don and his dad got started on the process of making the floors on the first floor level this weekend, so I had them explain it to me (twice) so that I could explain it to you folks. The first step, of course, is to have some fraternity boys come rip out your floors for you.

Once you are down to the joists, you need to acquire some string. Take the string and use a line level to secure it above your first joist in a level position. You may have to do some triangulating to do this; Don tied one end of the string on the far wall, then took it diagonally over to his first joist in the center of the room and lined it up, then strung it diagonally all the way over to the near wall of the room (yes I know that's not really what triangulating is, I couldn't think of a better word). Just drive a nail in wherever you need an end of the string to be, and tie the string around it. And don't forget to put your line level on before you tie it off. Then you can fiddle the string up and down on your nails until it's level.

The next step is to "sister" your first joist. Sistering a joist means that, rather than removing an old, unlevel joist, you take a new one and put it in right next to the old one, attaching the two together for lots of support. Obviously, you use your now-level string to determine the level position of the new joist. Once you've gotten the first joist in, you can use that to determine the level of the next joist.

That's a fairly simplistic explanation of a slightly complicated process, but that's basically how you do it.

How you navigate your way across the open joists that now comprise your only floor is, of course, up to you.


Monday, March 26, 2007

garage floor

Progress this weekend was about preparation for the big demo day next weekend. On Sunday, while I went out to breakfast with my dad and my grandparents before they headed back up to New Jersey, Don and his dad got in some male bonding time and built a temporary garage floor. I don't know if I've mentioned it, but our garage is actually separated into two halves. It's a two car garage, but there's a wall in the middle of it, dividing it. The right side is a wood shop -- it was Pop-Pop Brinkley's, long ago, and then Uncle Eddie inherited it, and now it's Don's. Or rather, it will be Don's once he sets it up. Right now it's mostly a clearinghouse for all the stuff I didn't want in the house, like various tools and building supplies. The other side of the garage is completely unfinished -- to the point of actually having a dirt floor. When we moved in, the dirt floor had several layers of slowly decaying plywood laid unevenly over it. That's what went in the dumpster last week. On Sunday, Don and his dad put together a simple frame of 2x4s and nailed sheets of plywood into it, making a very basic platform floor for the unfinished side of the garage. This is where our furniture is going to go (not the electronics, just stuff like couches and tables) sometime this week, to clear out the first floor for demolition this coming weekend.

And, for those of you who will inevitably ask, the reason we don't keep our cars in the garage is because they don't fit. It was built in 1920; I drive an SUV. You do the math.